Kevin and I (Kevin especially) love satay. Apart from Char Koay Teow, I can safely say that it's one of Kevin's all time favorite Malaysian hawker/street food. Back when we were still living in Malaysia, we used to order satay almost every time we go out to coffee shops or the mamak. We can get satay here too but it's really really expensive, compared to what we can get in Malaysia.

My parents sent us this packet of satay marinade seasoning mix along with all the other seasonings that they sent us a while back. So, I decided to try and make some chicken satay at home!

To make chicken satay, you have to start off by cutting skinless chicken tenders ( you can also use breast or dark meat, but tenders works the best) into tiny bite size pieces.

Then, sprinkle on the satay seasoning mix.

Next, add in some oil and mix it together with the chicken and marinade. Allow the chicken pieces to marinade for a couple of hours but I left it in the refrigerator to marinade overnight (the longer, the better).

Ketupat (some sort of Malay rice dumpling) is always served with satay. Originally, the ketupat is made by filling a woven palm leaves pouch with rice and boiled. Since I do not have excess to palm leaves or know how to wrap a ketupat, I bought the instant version. It taste just as good!

Just boil a big pot of water and add in some salt.

Then, drop in the pre packed rice packets.

Cover the pot and allow it to boil for about an hour or so.

Once it's cook, remove from the hot water and allow it to cool for at least 4 hours before cutting. To speed up the cooling process, you can put the ketupat in the refrigerator. It is really important that you allow the ketupat to cool fully before cutting. If not, you will be left with a sticky mess :P

Now it's time to skewer the chicken. It's really easy, just skewer the chicken pieces about half way into the skewers.

Here we go, a big plate of chicken satay, waiting to be grilled.

Ideally, satay should be grilled outdoors on a bed of nice hot coals. Since we live in an apartment, we had no choice but to just make do with our George Foreman grill :P You can brush on some oil just before you turn over the satay skewers.

Satay is always served with a side of peanut sauce. Well, certain places in Penang serve it with potato sauce and certain places in Malacca have their own belimbing sauce. However, satay is generally served with yummy and oily peanut sauce. I didn't make the peanut sauce from scratch. I just bought the instant chunky satay peanut sauce from the Asian grocery shop and reheated it. Tasted very authentic and good!

Once you are done grilling the satay, serve immediately. Here is the end product after assembling everything together :P Some nice juicy chicken satays with a side of ketupat, cucumbers (you can cut up some red onions too), peanut sauce and some toast (people from Penang sometimes like to dip toast in their peanut sauce, it's yummy!). I can safely say that it tasted very authentic, it even received a thumbs up from my satay loving husband :P No more spending senseless money on expensive satay appetizers in Malaysian restaurants from now on. I can't wait to make my next batch of satay! Maybe beef and pork satay this time? :D

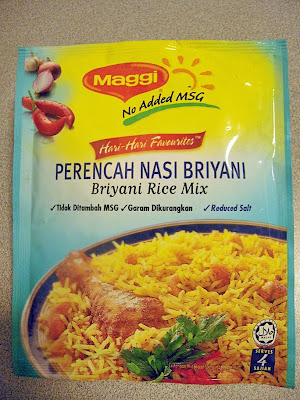

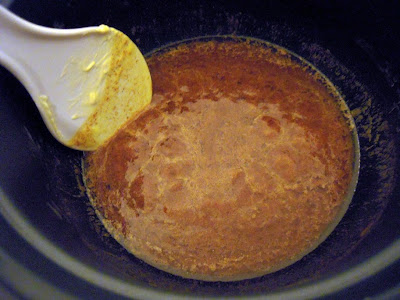
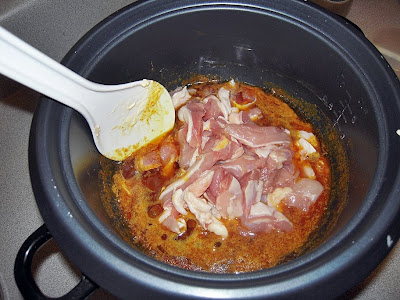
 Stir fry the chicken for a bit then add in about 2 cups of rice.
 Mix the rice up with the chicken, then add in some raisins. You can also add in some cashew nuts or peas if you like.
 Once you have mixed up all the ingredients, add in about 2 and a half cups of water.
 Mix all the ingredients up for one last time then cover the rice cooker. Set the rice cooker to "cook" and that's it! Just remember to stir the Nasi Briyani ever so often while cooking, to prevent the rice from burning and sticking to the bottom of the rice cooker.


 Next, add in 1/2 a teaspoon of salt.
  Then, in goes about 1/2 a teaspoon of turmeric powder.
 Whisk it all together and make sure that all the ingredients are mixed together well.
 Using a fine sieve, sift about 2 cups of all purpose flour into the mixture.
 Stir in the flour into the mixture gradually until a thin crepe like batter is achieved. At this point, you can add in some more water if the batter is too thick. If the batter is too thick, it will not be able to flow out smoothly from the mould later on.
 Remember to use a small flat bottom bowl to place the mould into once you are done. This should prevent the rest of the batter from flowing out from the mould. Of course some might flow out, so just pour it back into the mixing bowl...no big deal :D
 Allow it to cook for a bit (it doesn't take long at all). Once it's done. fold it to half and then quarter it. Lift it to a plate and repeat the steps again until you are out of batter. Remember to grease your pan ever so often and if the batter begins to thicken, just add in some water so that it remains in a thin crepe batter like consistency.
 Here it is. A large plate of Roti Jala with some Chicken Curry. You can get the recipe for the Chicken Curry